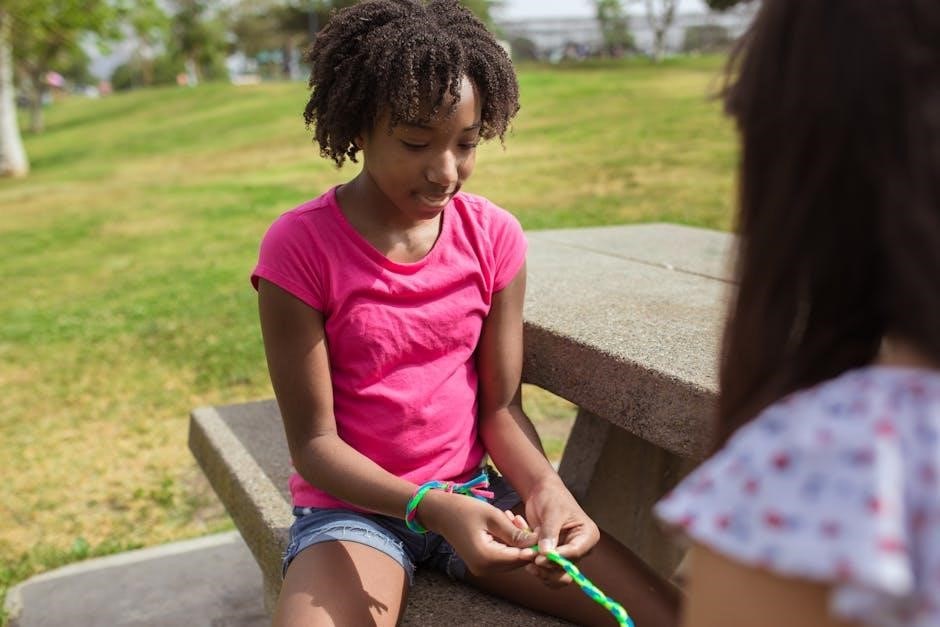
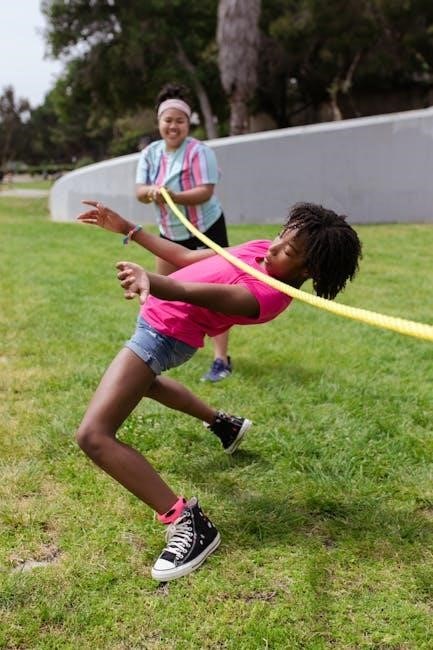
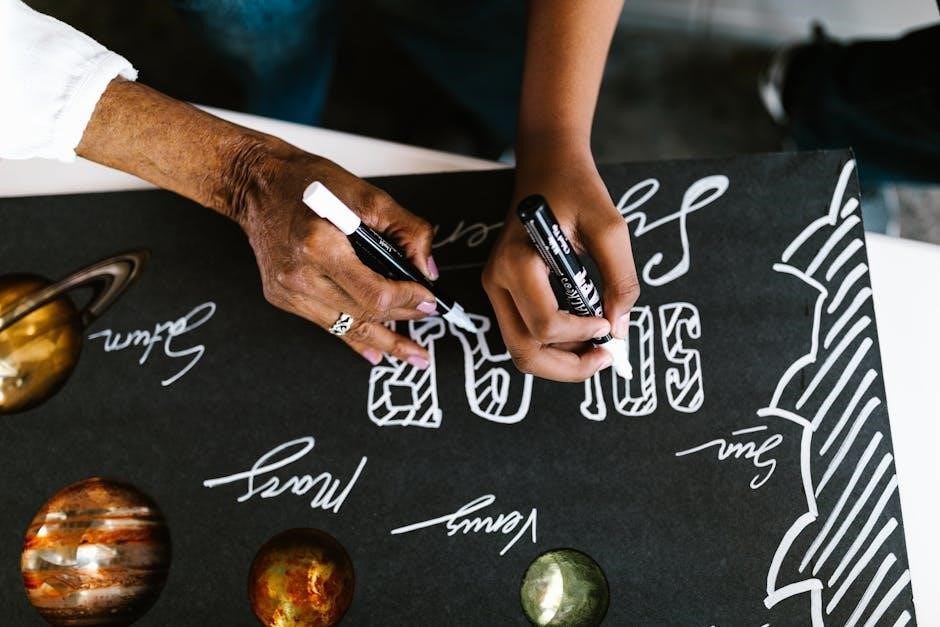
STEM activities for middle school offer hands-on learning experiences‚ fostering creativity and problem-solving skills. These engaging projects integrate science‚ technology‚ engineering‚ and math with arts‚ making learning interactive and fun. Ready-to-use resources like PDFs and worksheets simplify implementation for educators‚ ensuring a comprehensive STEM education.
Importance of STEM Education in Middle School
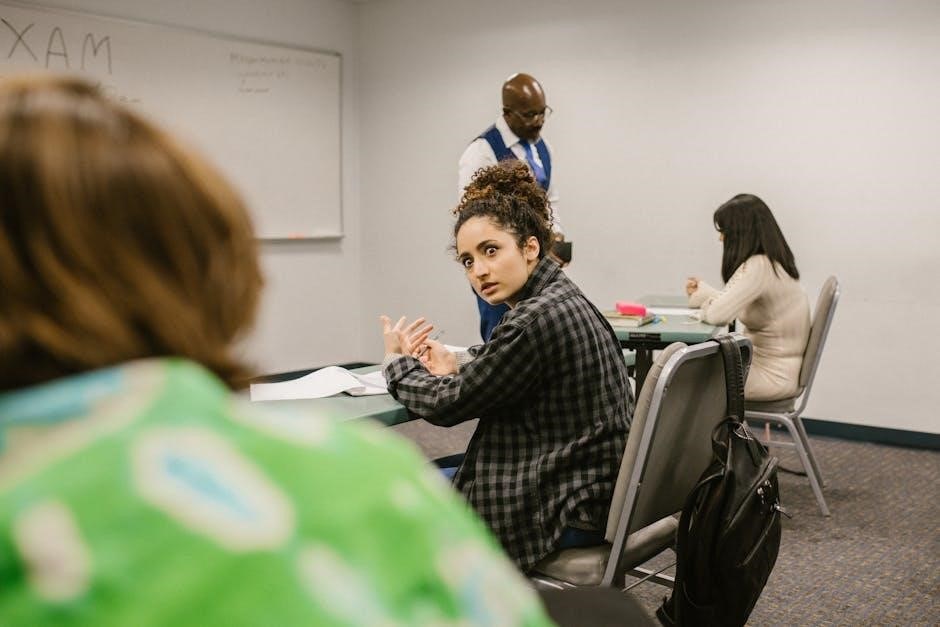
STEM education is crucial for middle school students as it builds foundational skills in science‚ technology‚ engineering‚ and math. These disciplines foster critical thinking‚ problem-solving‚ and creativity‚ preparing students for future careers. By engaging in hands-on activities‚ students develop curiosity and confidence in tackling real-world challenges. STEM education also encourages collaboration and innovation‚ essential for addressing global issues. Introducing STEM concepts early helps students understand their practical applications‚ sparking interest in fields like robotics‚ environmental science‚ and digital technologies. Moreover‚ STEM learning promotes adaptability and resilience‚ equipping students with skills to thrive in a rapidly changing world.
Benefits of Hands-On Learning in STEM
Hands-on learning in STEM offers numerous benefits for middle school students. It enhances understanding by allowing students to explore concepts through practical experiences. Activities like experiments and projects increase engagement and retention of complex ideas. Students develop teamwork and communication skills by collaborating on challenges. Hands-on learning also builds creativity and problem-solving abilities‚ essential for innovation. It makes abstract concepts tangible‚ helping students connect theory to real-world applications. Additionally‚ interactive learning boosts confidence and curiosity‚ encouraging students to pursue STEM careers. Educators can use downloadable resources like PDFs to design engaging activities‚ ensuring a fun and effective learning experience for all students.
How to Incorporate STEM into Middle School Curriculum
Incorporating STEM into the middle school curriculum involves integrating science‚ technology‚ engineering‚ and math through hands-on activities and real-world applications. Educators can start by identifying cross-curricular projects that align with learning standards. Utilize resources like STEM activity worksheets and PDFs to design engaging lessons. Encourage collaboration by grouping students for problem-solving challenges. Incorporate technology tools‚ such as coding platforms and robotics kits‚ to enhance learning. Projects like bridge building or simple machine design can be used to teach engineering concepts. Regularly assess student progress through project-based assessments and reflective practices. By making STEM relatable and interactive‚ educators can inspire students to develop a deeper interest in these fields while preparing them for future careers.
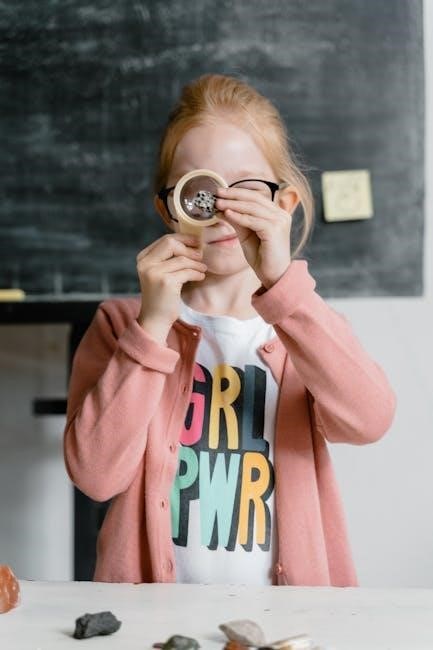
Science Activities for Middle School
Engage students with hands-on science experiments like creating fruit fly habitats‚ extracting DNA‚ or building volcano models. These activities spark curiosity and promote scientific thinking while aligning with curriculum standards.
Biology Experiments for Middle School Students
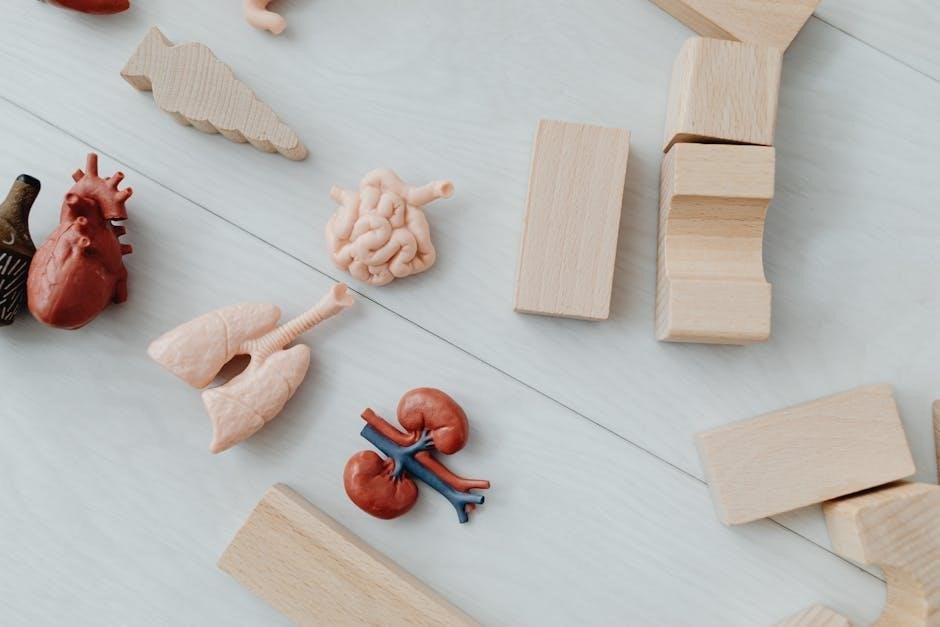
Biology experiments for middle school students are designed to make learning interactive and fun. Activities like growing plants in different conditions‚ observing cellular structures under microscopes‚ and studying the life cycle of insects provide hands-on experiences. Students can explore DNA extraction using simple household items‚ fostering a deeper understanding of genetic concepts. Additionally‚ creating ecosystems in jars helps students learn about environmental balance and biodiversity. These experiments not only align with curriculum standards but also encourage critical thinking and scientific inquiry. They are perfect for integrating into STEM programs‚ making complex biological concepts accessible and engaging for young learners.
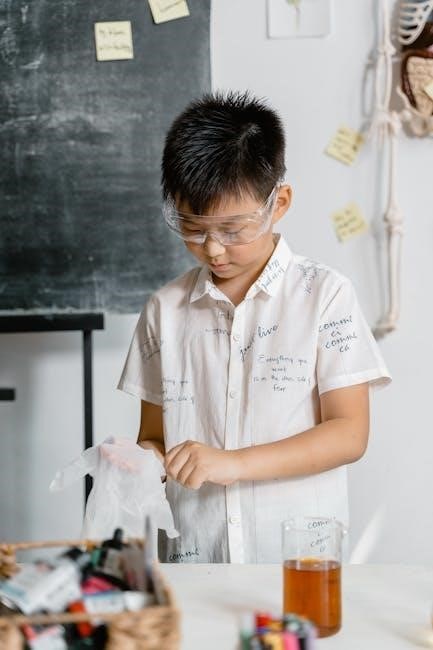
Chemistry Labs Suitable for Middle School
Chemistry labs for middle school students are designed to be safe‚ engaging‚ and educational. Simple experiments like creating a homemade lava lamp using oil‚ water‚ and food coloring demonstrate density and chemical reactions. Making slime with glue and borax introduces polymers and their properties. Baking soda volcanoes show chemical reactions and geological processes. Students can also explore the effects of pH on substances using cabbage juice as an indicator. These hands-on activities align with STEM principles‚ fostering curiosity and understanding of basic chemical concepts. They are ideal for classroom use‚ providing visual and interactive learning experiences that make chemistry accessible and fun for young learners while adhering to safety guidelines.
Physics Projects to Engage Young Minds
Physics projects for middle school students are designed to make complex concepts fun and accessible. Building bridges with popsicle sticks challenges students to test structural integrity and tension. Creating homemade lava lamps using oil‚ water‚ and food coloring demonstrates density and buoyancy. Making wind chimes from recycled materials teaches sound waves and vibrations. Students can also explore motion with marble runs or build catapults to learn about forces and energy transfer. These hands-on activities encourage critical thinking and teamwork‚ helping students grasp fundamental physics principles. They are easy to set up with household items‚ making them ideal for classroom or home learning environments. These engaging projects inspire curiosity and a deeper understanding of the physical world around them.
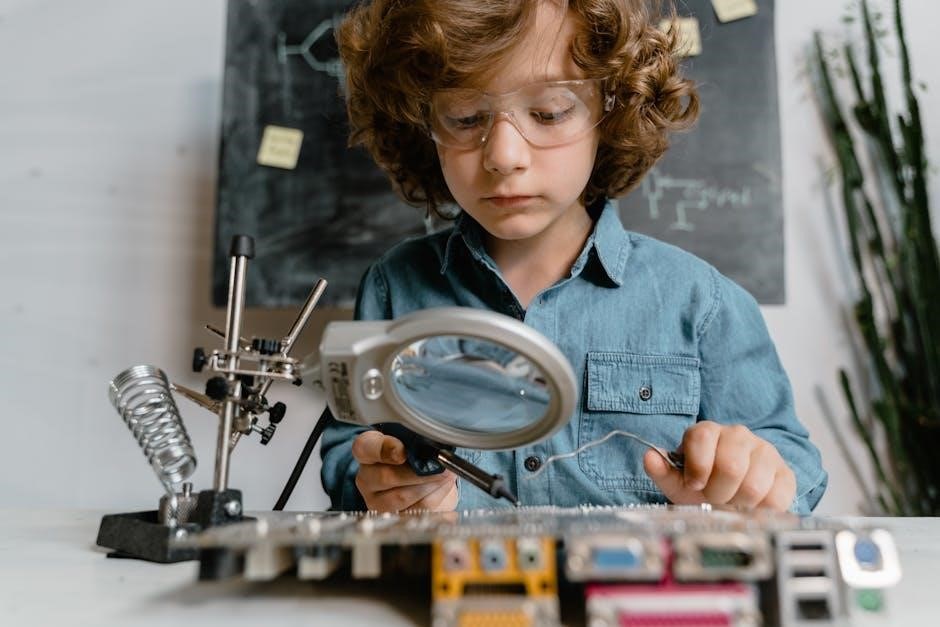
Technology Activities for Middle School
Technology activities for middle school include coding basics‚ robotics‚ and digital tools to enhance STEM learning. These hands-on projects help students develop essential tech skills and problem-solving abilities.
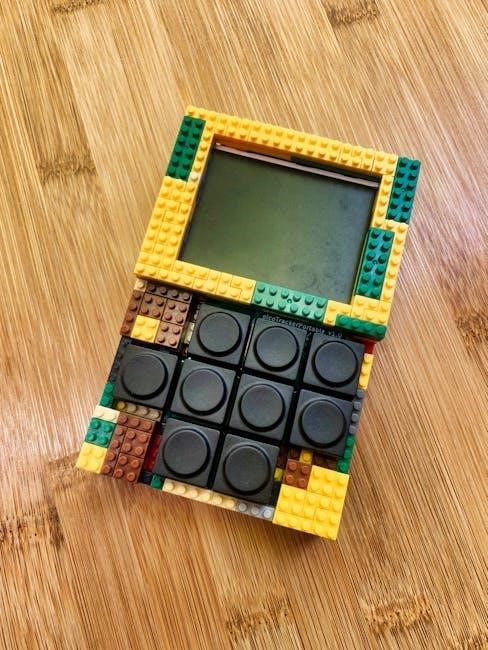
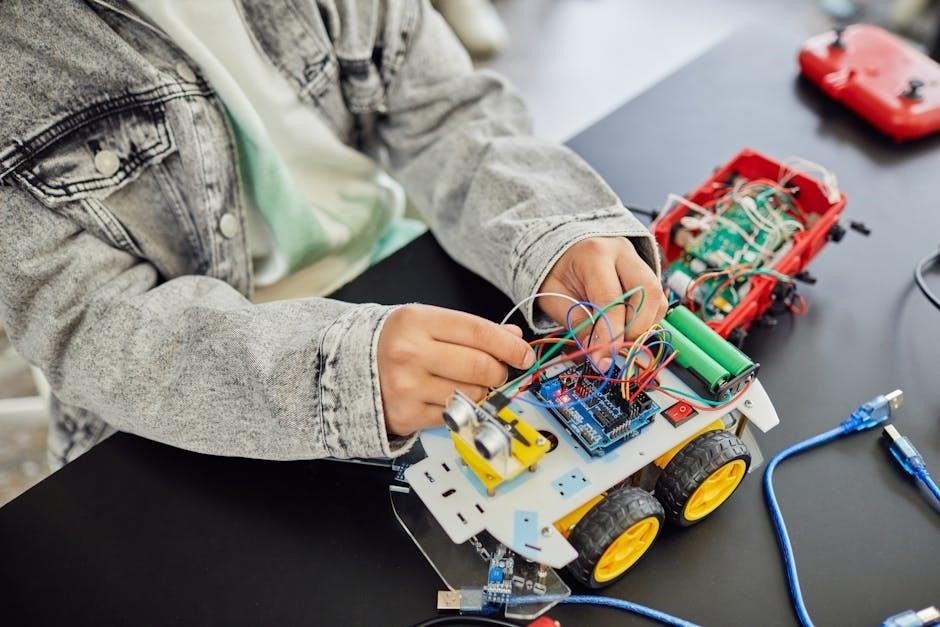
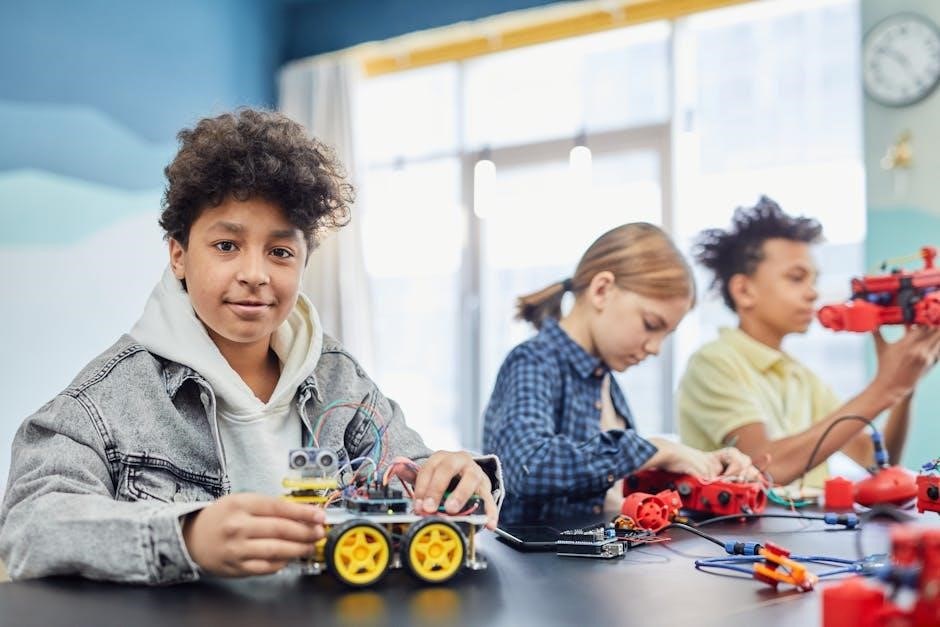
Robotics and Automation Projects
Robotics and automation projects are exciting STEM activities for middle school students‚ offering hands-on experience with technology and engineering. These projects encourage creativity and problem-solving by designing and programming robots to perform tasks. Students can use tools like LEGO Mindstorms or Sphero to build and control robots‚ fostering critical thinking and innovation. Automation projects also teach students about sensors‚ motors‚ and programming logic. These activities promote teamwork and collaboration‚ essential for real-world applications. By engaging in robotics‚ students gain practical insights into how technology solves everyday problems. Resources like step-by-step guides and activity sheets are available to support educators in implementing these projects effectively‚ making STEM learning both interactive and meaningful for young learners.
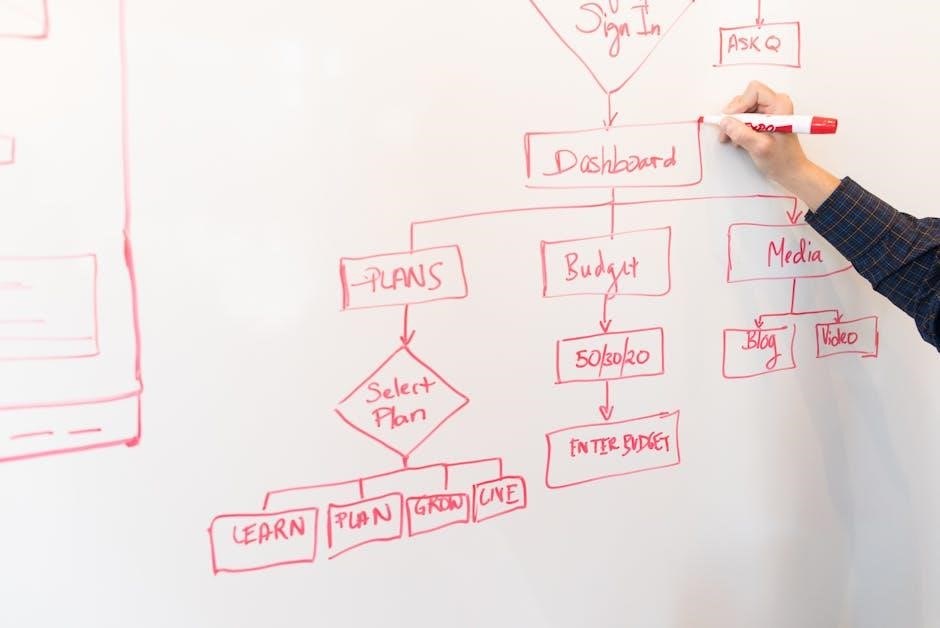
Using Digital Tools for STEM Learning
Digital tools enhance STEM learning by providing interactive and immersive experiences for middle school students. Platforms like Khan Academy‚ Code.org‚ and PhET simulations offer engaging resources for science‚ math‚ and coding; Educational apps and online labs allow students to explore complex concepts through virtual experiments and simulations. Tools like Google Classroom and Tinkercad facilitate collaborative learning and 3D design. Digital worksheets and activity sheets‚ available as PDFs‚ provide structured lessons for hands-on practice. These tools cater to diverse learning styles‚ making STEM education accessible and fun. By integrating technology‚ educators can create dynamic learning environments that prepare students for future challenges and inspire a love for STEM subjects from an early age.
Engineering Activities for Middle School
Engineering activities for middle school foster creativity and problem-solving skills through hands-on projects. Students design and build bridges‚ explore simple machines‚ and engage in real-world applications using everyday materials.
Design Thinking and Problem-Solving Exercises
Design thinking and problem-solving exercises are essential for middle school STEM education‚ fostering creativity and resilience. These activities guide students through empathy‚ ideation‚ prototyping‚ and testing‚ encouraging innovative solutions to real-world challenges. By breaking down complex problems into manageable steps‚ students develop critical thinking and collaboration skills. Hands-on exercises‚ such as designing sustainable communities or improving everyday objects‚ promote adaptability and resourcefulness. These exercises align with educational standards and prepare students for future STEM careers‚ emphasizing the importance of failure as a learning tool and nurturing a growth mindset. Printable worksheets and activity guides are available to support these exercises‚ ensuring engaging and impactful learning experiences.
Building Bridges and Structural Engineering
Building bridges and structural engineering projects are engaging STEM activities for middle school students‚ teaching fundamental engineering principles. Students design and construct bridges using everyday materials like popsicle sticks‚ straws‚ or cardboard‚ focusing on strength‚ stability‚ and durability. These exercises introduce concepts of tension‚ compression‚ and load distribution‚ encouraging problem-solving and creativity. Challenges like creating a bridge with minimal materials or testing its weight capacity foster critical thinking and teamwork. Printable activity sheets and guides are available‚ offering step-by-step instructions and safety tips. These activities not only enhance engineering skills but also connect to real-world applications‚ inspiring students to explore structural engineering careers. Extensions include researching famous bridges or designing eco-friendly structures‚ promoting deeper understanding and innovation.
Simple Machines and Mechanisms
Exploring simple machines and mechanisms is a foundational STEM activity for middle school students‚ introducing them to basic engineering principles. Hands-on projects‚ such as building ramps to demonstrate inclined planes or creating levers with everyday materials‚ help students understand mechanical advantage and motion. Activities like constructing pulleys or gears using cardboard‚ rulers‚ and marbles engage students in learning about force‚ motion‚ and efficiency. These exercises encourage teamwork‚ problem-solving‚ and critical thinking while connecting to real-world applications‚ such as machinery and tools. By incorporating creative challenges‚ like designing a Rube Goldberg machine‚ students develop an appreciation for how simple mechanisms combine to achieve complex tasks‚ fostering innovation and curiosity in engineering and design.
Math Activities for Middle School
Engage students with practical math activities that apply algebra‚ geometry‚ and statistics to real-world problems. Hands-on projects and puzzles foster problem-solving skills and critical thinking‚ preparing them for STEM careers.
Practical Applications of Algebra and Geometry
Practical applications of algebra and geometry help middle school students connect abstract concepts to real-world scenarios. Activities like designing dream bedrooms or calculating costs for a party allow students to use algebraic equations and geometric shapes in meaningful ways. These exercises not only enhance problem-solving skills but also build a foundation for advanced STEM fields. By incorporating everyday examples‚ educators make math more relatable and engaging‚ encouraging students to see the relevance of their studies; This approach fosters a deeper understanding and appreciation of how math shapes the world around them‚ making learning both fun and impactful.
Statistics and Data Analysis Projects
Statistics and data analysis projects provide middle school students with essential skills in interpreting and understanding data. Activities such as creating bar graphs‚ conducting surveys‚ and analyzing real-world datasets help students grasp statistical concepts. These hands-on exercises make learning interactive and relevant‚ allowing students to draw meaningful conclusions from data. By using tools like spreadsheets or online platforms‚ students can visualize trends and patterns‚ enhancing their critical thinking abilities. Teachers can incorporate downloadable PDF resources and worksheets to guide these projects‚ ensuring a structured approach to data exploration. Such activities not only prepare students for advanced STEM fields but also equip them with skills to make informed decisions in everyday life.
Math-Based Puzzles and Problem Solving
Math-based puzzles and problem-solving activities engage middle school students in critical thinking and logical reasoning. These exercises‚ such as algebraic puzzles‚ geometric shape challenges‚ and logic grid problems‚ encourage students to approach problems methodically. Hands-on activities like calculating the area of irregular shapes or budgeting for a pretend event make math practical and fun. Interactive tools and downloadable PDFs provide structured resources for teachers to integrate these activities into the curriculum. By solving real-world math problems‚ students build confidence in their ability to tackle complex scenarios. Such exercises also foster teamwork and creativity‚ preparing students for advanced STEM challenges while making math accessible and enjoyable.
Integrated STEM Activities
Integrated STEM activities combine science‚ technology‚ engineering‚ and math through project-based learning‚ fostering problem-solving and creativity. These real-world applications enhance interdisciplinary understanding and skill development.
Combining Science‚ Technology‚ Engineering‚ and Math
Combining science‚ technology‚ engineering‚ and math creates a cohesive learning experience‚ allowing students to explore how these disciplines interconnect. For instance‚ in a physics project‚ students might design and build a bridge using engineering principles‚ applying mathematical calculations for structural integrity and scientific concepts of tension and compression. Technology tools like simulations or digital blueprints can enhance the process‚ while math ensures precision in measurements and predictions. Such integrated activities not only deepen understanding but also prepare students for real-world challenges‚ encouraging critical thinking and innovation. These projects make STEM accessible and engaging‚ fostering a well-rounded skill set.
STEAM Education: Incorporating Arts into STEM
STEAM education extends STEM by integrating arts‚ fostering creativity and innovation. This approach encourages students to think beyond technical aspects‚ incorporating design‚ aesthetics‚ and creativity into projects. For example‚ students might design a sustainable city‚ combining engineering with artistic elements for a visually appealing model. Arts also enhance problem-solving by encouraging unique perspectives and expression. Activities like creating 3D models or digital art linked to STEM concepts make learning holistic. STEAM bridges gaps between logical and creative thinking‚ preparing students for diverse careers. It emphasizes the importance of art in innovation‚ showing how creativity drives real-world solutions in fields like architecture‚ product design‚ and even medical device development.
Project-Based Learning in STEM
Project-based learning (PBL) in STEM engages students in real-world challenges‚ fostering critical thinking and collaboration. By tackling authentic problems‚ students apply STEM concepts to design solutions‚ enhancing deep learning. PBL encourages innovation‚ as students brainstorm‚ prototype‚ and refine their ideas. Activities like designing sustainable cities or creating assistive devices for disabilities exemplify this approach. Digital tools and community involvement further enrich these projects‚ preparing students for future careers; PBL promotes creativity‚ perseverance‚ and communication‚ equipping students with essential 21st-century skills. It aligns with STEAM education‚ integrating arts for holistic development. Through PBL‚ students develop a growth mindset‚ embracing failure as a stepping stone to success.
Resources for STEM Activities
Discover free STEM activity worksheets and downloadable PDFs designed for middle school engagement. Explore online platforms offering hands-on STEM learning tools and materials for interactive projects.
Free STEM Activity Worksheets and PDFs
Free STEM activity worksheets and PDFs are invaluable resources for middle school educators. These materials‚ often downloadable‚ provide structured lesson plans and activity sheets that cover a wide range of STEM topics. For instance‚ the Building Blocks program offers a comprehensive collection of activities in one convenient PDF‚ making it easy for teachers to implement engaging STEM lessons. Many organizations‚ such as the Girl Scouts of the USA‚ also provide STEM-focused resources designed to inspire young learners. These worksheets often include experiments‚ design challenges‚ and problem-solving exercises tailored for middle school students. They are perfect for fostering creativity and critical thinking while aligning with curriculum standards.
Additionally‚ these free resources are adaptable to various learning environments‚ ensuring that students can participate actively. Worksheets might include biology experiments‚ coding basics‚ or engineering challenges‚ all aimed at making STEM education accessible and fun. By leveraging these tools‚ educators can create interactive and meaningful learning experiences that cater to diverse student needs and interests.
Online Platforms for STEM Learning
Online platforms for STEM learning provide interactive and accessible resources for middle school students. Websites like Texas EcosysSTEM and The Connectory offer hands-on experiences and real-world applications‚ essential for sparking curiosity. These platforms often feature activity sheets‚ video tutorials‚ and collaborative tools‚ making STEM education engaging and immersive. They also cater to diverse learning styles‚ ensuring that all students can participate actively.
Many platforms integrate games‚ simulations‚ and project-based learning to make complex concepts fun and understandable. They align with curriculum standards‚ providing educators with reliable materials. Parents can also use these resources to support their child’s STEM journey‚ fostering a love for science‚ technology‚ engineering‚ and math from an early age.
Tools and Materials for Hands-On STEM Projects
Hands-on STEM projects require a variety of tools and materials to inspire creativity and innovation. Everyday items like cardboard‚ rubber bands‚ and paperclips can be transformed into functional designs‚ such as homemade rubber band-powered cars. Digital tools like 3D printers and coding software also play a crucial role in modern STEM education. Additionally‚ materials like wooden skewers‚ tape‚ and CDs can be repurposed for engineering challenges‚ fostering problem-solving skills. These accessible resources make STEM activities engaging and affordable for middle school students. By using these tools‚ students can explore complex concepts in a practical and fun way‚ preparing them for future careers in science‚ technology‚ engineering‚ and math.
Assessment and Reflection
Assessment and reflection are key to evaluating student learning and fostering growth. Regular quizzes‚ project evaluations‚ and class discussions help measure understanding and progress in STEM activities.
Evaluating Student Learning in STEM Activities
Evaluating student learning in STEM activities involves a combination of formative and summative assessments. Teachers can use quizzes‚ project evaluations‚ and class discussions to measure understanding. Rubrics provide clear grading criteria for hands-on projects‚ ensuring fairness and transparency. Peer reviews and self-assessments encourage critical thinking and accountability. Portfolios allow students to showcase their progress over time‚ highlighting improvements and achievements. Problem-solving tasks and presentations help gauge creativity and application of concepts. Reflective journals or wrap-up sessions enable students to articulate their learning journey. Continuous feedback is essential to identify areas of strength and weakness‚ guiding future instruction. By integrating diverse assessment methods‚ educators ensure a comprehensive understanding of student learning in STEM.
Reflective Practices for STEM Education
Reflective practices in STEM education empower students to analyze their learning journey and outcomes. Techniques like journaling‚ group discussions‚ and self-assessment encourage critical thinking and self-awareness. Teachers can use guided prompts to help students articulate their problem-solving processes and identify areas for improvement. Reflective sessions after projects allow students to discuss challenges faced and strategies used‚ fostering collaboration and communication. Wrap-up activities‚ such as imagining neighborhood improvements through engineering‚ inspire creativity and real-world application. Reflective practices also help educators refine their teaching methods by understanding student perspectives and learning experiences. By integrating reflection‚ STEM education becomes more engaging and meaningful‚ preparing students for future challenges and fostering a growth mindset.
Wrap-Up Session and Reflection Activity
A wrap-up session and reflection activity are essential for consolidating learning in STEM education. These activities provide students with the opportunity to review their projects‚ discuss challenges‚ and celebrate successes. Reflection helps students connect their experiences to real-world applications‚ fostering a deeper understanding of STEM concepts. Guided prompts and reflection sheets can be used to encourage thoughtful discussion and self-assessment. For example‚ students might imagine improving their neighborhoods through engineering projects‚ sparking creativity and civic engagement. This reflective process not only enhances problem-solving skills but also builds confidence and collaboration. By incorporating wrap-up sessions‚ educators ensure that students gain lasting insights from their STEM experiences‚ preparing them for future challenges and fostering a love for lifelong learning.